✨ New Arrivals Just Dropped!Explore
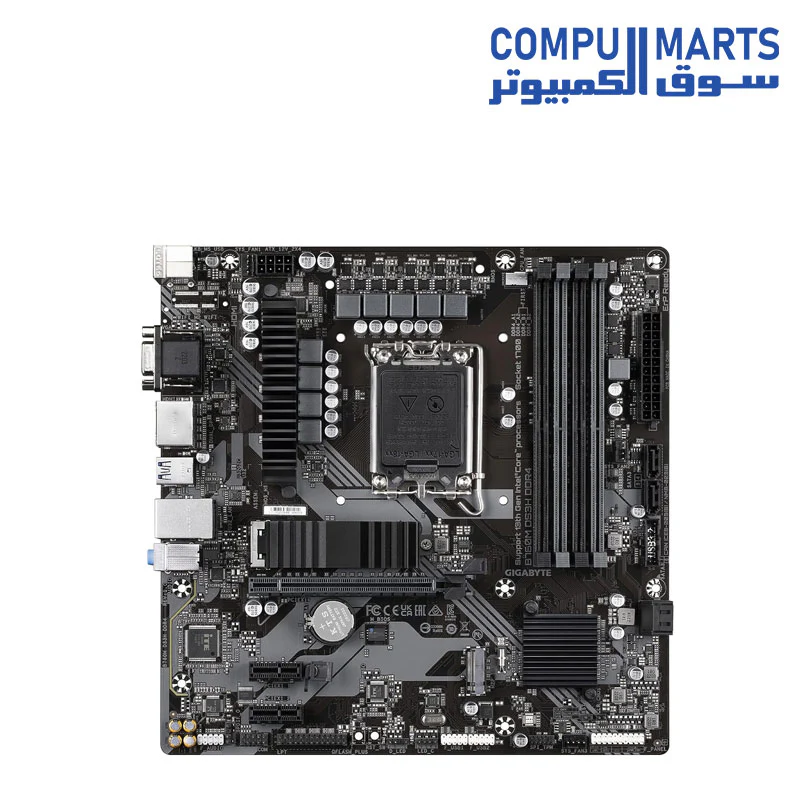
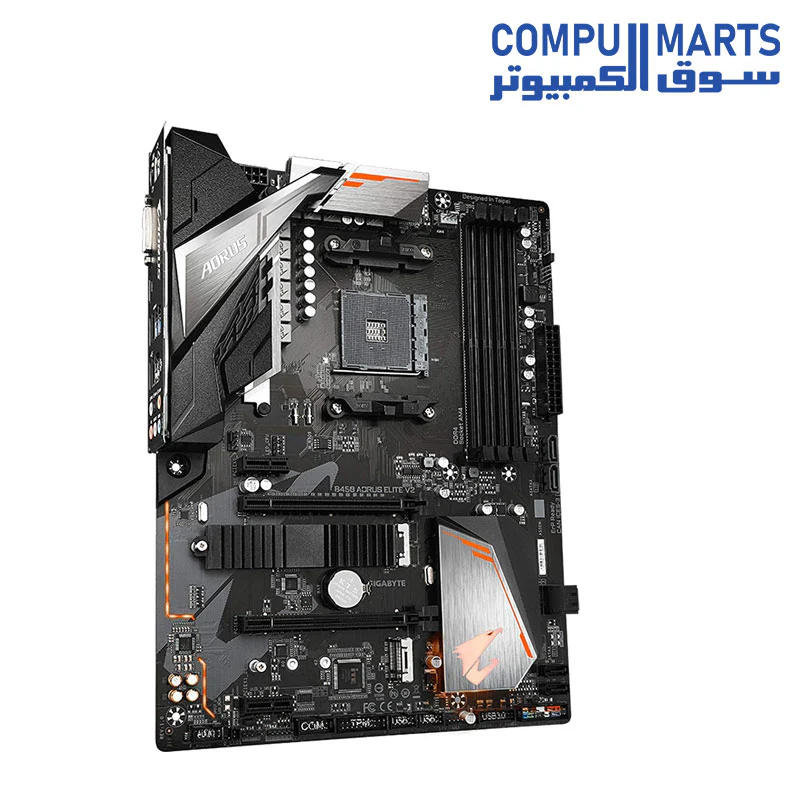
GIGABYTE B450 AORUS ELITE V2 AM4 AMD B450 SATA 6GB/S ATX AMD Ryzen MOTHERBOARD
GIGABYTE B450 AORUS ELITE V2 AM4 AMD B450 SATA 6GB/S ATX AMD MOTHERBOARD
Brand |
Gigabyte |
CPU Socket |
Socket AM4 |
Compatible Devices |
Personal Computer |
RAM Memory Technology |
DDR4 |
Compatible Processors |
AMD 3rd Generation Ryzen, AMD 2nd Gerenration Ryzen, AMD Athlon |
Chipset Type |
Intel B450 |
CPU Model |
Athlon |
Graphics Card Interface |
PCI Express |
Memory Slots Available |
4 |
-
Supports AMD 3rd Gen Ryzen/ 2nd Gen Ryzen/ 1st Gen Ryzen/ 2nd Gen Ryzen with Radeon Vega Graphics/ 1st Gen Ryzen with Radeon Vega Graphics/ Athlon with Radeon Vega Graphics Processors.
-
Dual Channel Non-ECC Unbuffered DDR4, 4 DIMMs.
-
8 plus 2 Phases Digital Twin Power Design with Low RDS(on) MOSFETs.
-
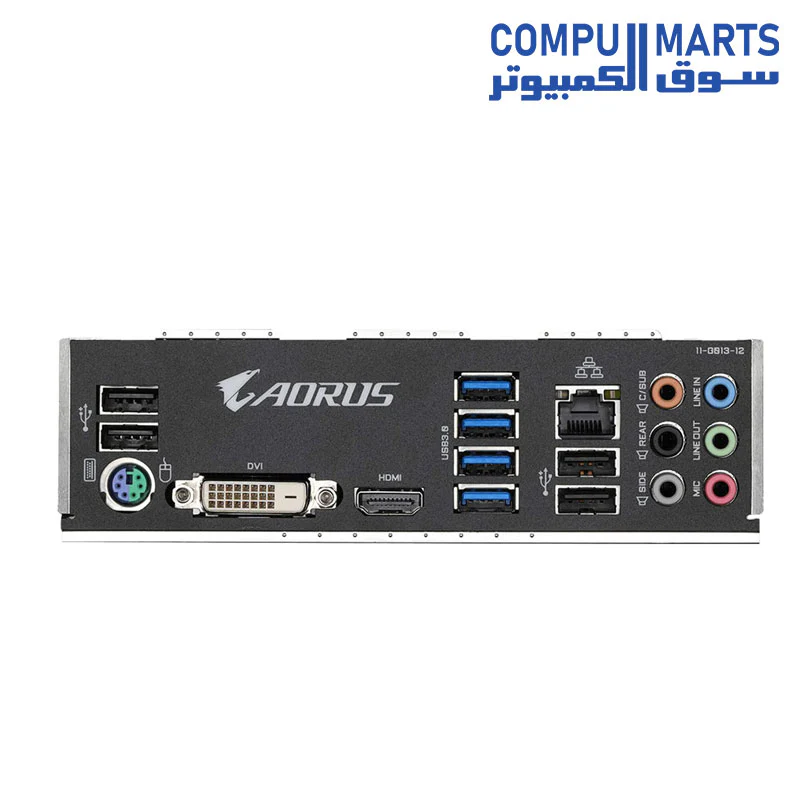
HDMI, DVI-D Ports for Multiple Display.
-
Integrated I/O Shield of Ultra Durable Design.
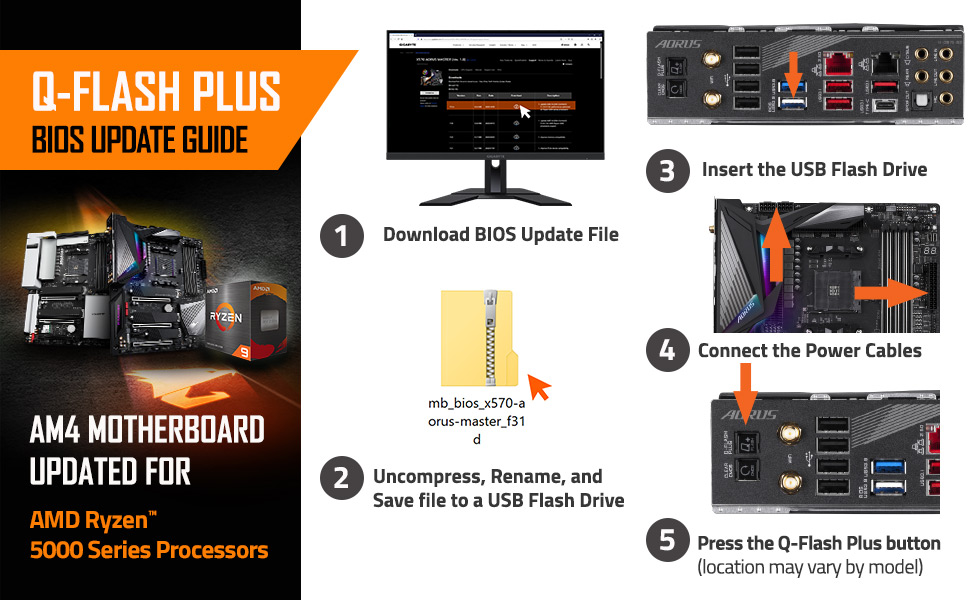
Motherboard BIOS update for AMD Ryzen 5000 series processors
-
From GIGABYTE’s website, download the latest compressed BIOS update file that matches your motherboard model from its product page.
-
Uncompress the downloaded BIOS file, save it to your USB flash drive, and rename it to GIGABYTE.bin. Note: The USB flash drive must use the FAT32/16 file system.
-
Insert the USB flash drive into the white USB port or BIOS Q Flash port on the back panel of your motherboard (USB port may not be labeled on all models, checking the user manual is recommended)
-
Connect the power cables to the CPU 8 Pin power connector (connect either one if there are two) and mainboard 24 Pin power connector.
-
Press the Q-Flash Plus button (location may vary by model) and the system will automatically search and match the BIOS file in the USB flash drive on the white USB port. The QFLED and the Q-Flash Plus button on the rear panel will flash during the BIOS matching and flashing process. Wait for 2-3 minutes and the QFLED will stop flashing when the BIOS flashing is complete.
$101.14
GIGABYTE B450 AORUS ELITE V2 AM4 AMD B450 SATA 6GB/S ATX AMD Ryzen MOTHERBOARD—
$101.14


Description
GIGABYTE B450 AORUS ELITE V2 AM4 AMD B450 SATA 6GB/S ATX AMD MOTHERBOARD
Brand |
Gigabyte |
CPU Socket |
Socket AM4 |
Compatible Devices |
Personal Computer |
RAM Memory Technology |
DDR4 |
Compatible Processors |
AMD 3rd Generation Ryzen, AMD 2nd Gerenration Ryzen, AMD Athlon |
Chipset Type |
Intel B450 |
CPU Model |
Athlon |
Graphics Card Interface |
PCI Express |
Memory Slots Available |
4 |
-
Supports AMD 3rd Gen Ryzen/ 2nd Gen Ryzen/ 1st Gen Ryzen/ 2nd Gen Ryzen with Radeon Vega Graphics/ 1st Gen Ryzen with Radeon Vega Graphics/ Athlon with Radeon Vega Graphics Processors.
-
Dual Channel Non-ECC Unbuffered DDR4, 4 DIMMs.
-
8 plus 2 Phases Digital Twin Power Design with Low RDS(on) MOSFETs.
-
HDMI, DVI-D Ports for Multiple Display.
-
Integrated I/O Shield of Ultra Durable Design.
Motherboard BIOS update for AMD Ryzen 5000 series processors
-
From GIGABYTE’s website, download the latest compressed BIOS update file that matches your motherboard model from its product page.
-
Uncompress the downloaded BIOS file, save it to your USB flash drive, and rename it to GIGABYTE.bin. Note: The USB flash drive must use the FAT32/16 file system.
-
Insert the USB flash drive into the white USB port or BIOS Q Flash port on the back panel of your motherboard (USB port may not be labeled on all models, checking the user manual is recommended)
-
Connect the power cables to the CPU 8 Pin power connector (connect either one if there are two) and mainboard 24 Pin power connector.
-
Press the Q-Flash Plus button (location may vary by model) and the system will automatically search and match the BIOS file in the USB flash drive on the white USB port. The QFLED and the Q-Flash Plus button on the rear panel will flash during the BIOS matching and flashing process. Wait for 2-3 minutes and the QFLED will stop flashing when the BIOS flashing is complete.